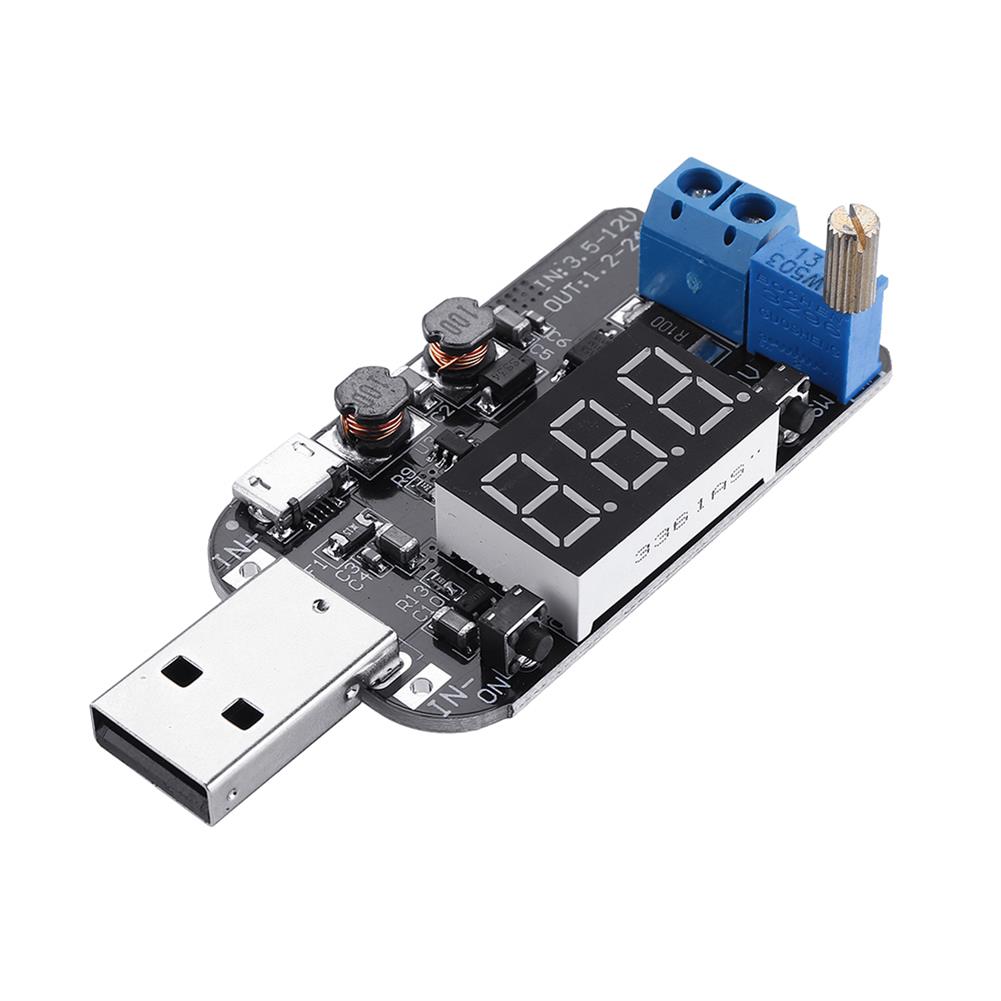
 3pcs DC5V to 3.3V 9V 12V 18V 24V USB Adjustable Buck Boost Power Supply Module Voltage Regulator
$20.94
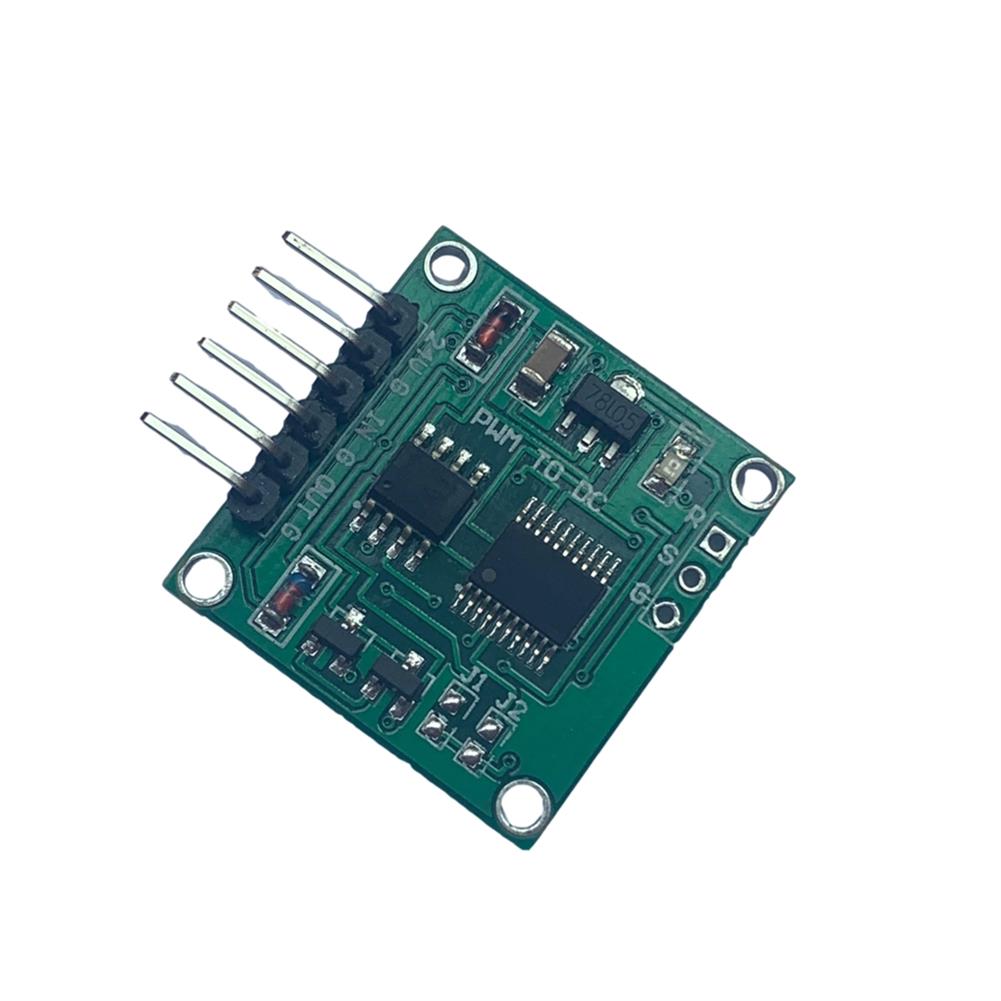 PWM to Voltage PWM to 0-5V 0-10V Low Frequency 5~500Hz Linear Conversion Transmitter Module
$32.76
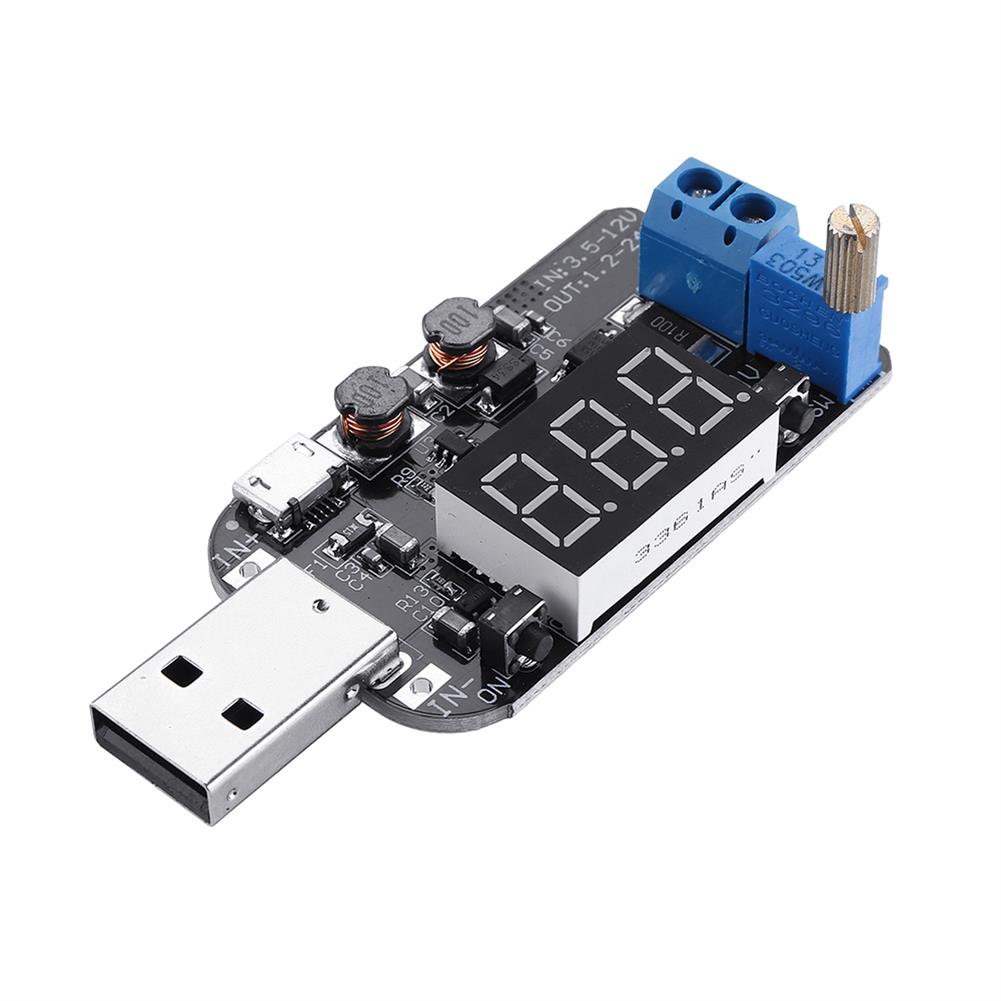
10pcs DC5V to 3.3V 9V 12V 18V 24V USB Adjustable Buck Boost Power Supply Module Voltage Regulator
$64.27
Instructions for use
1. Button
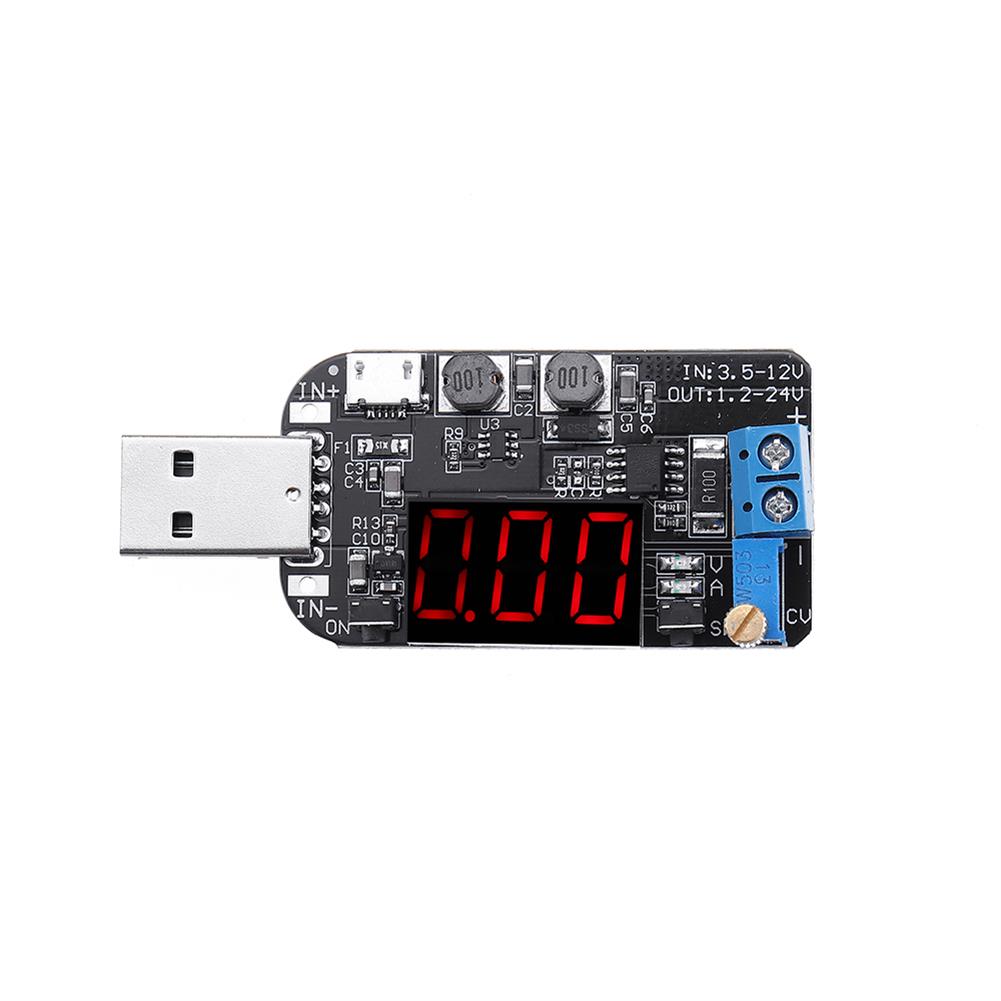
“ON Inch button on the left side:short press – control the output terminal to turn on or off, in the calibration mode, reduce the voltage or current value of one unit; long press – long press for more than 3s to release, the digital tube is closed, press any button The digital tube resumes display.
Right side inchSWinch button:Short press – switch between voltage, current and wheel display; long press – enter or exit calibration mode, enter calibration voltage at the display voltage interface, and calibrate current when entering current interface;
2. Potentiometer knob
Clockwise rotation increases the output voltage and counterclockwise rotation reduces the output voltage. The stepless conversion voltage range is 1.2-24V.
3. Indicator light
V——The indicator light indicates that the current digital tube displays the voltage value, and the unit is V.
A——The indicator light is on, indicating that the current digital tube displays the current value, the unit is A.
4. Input and output ports
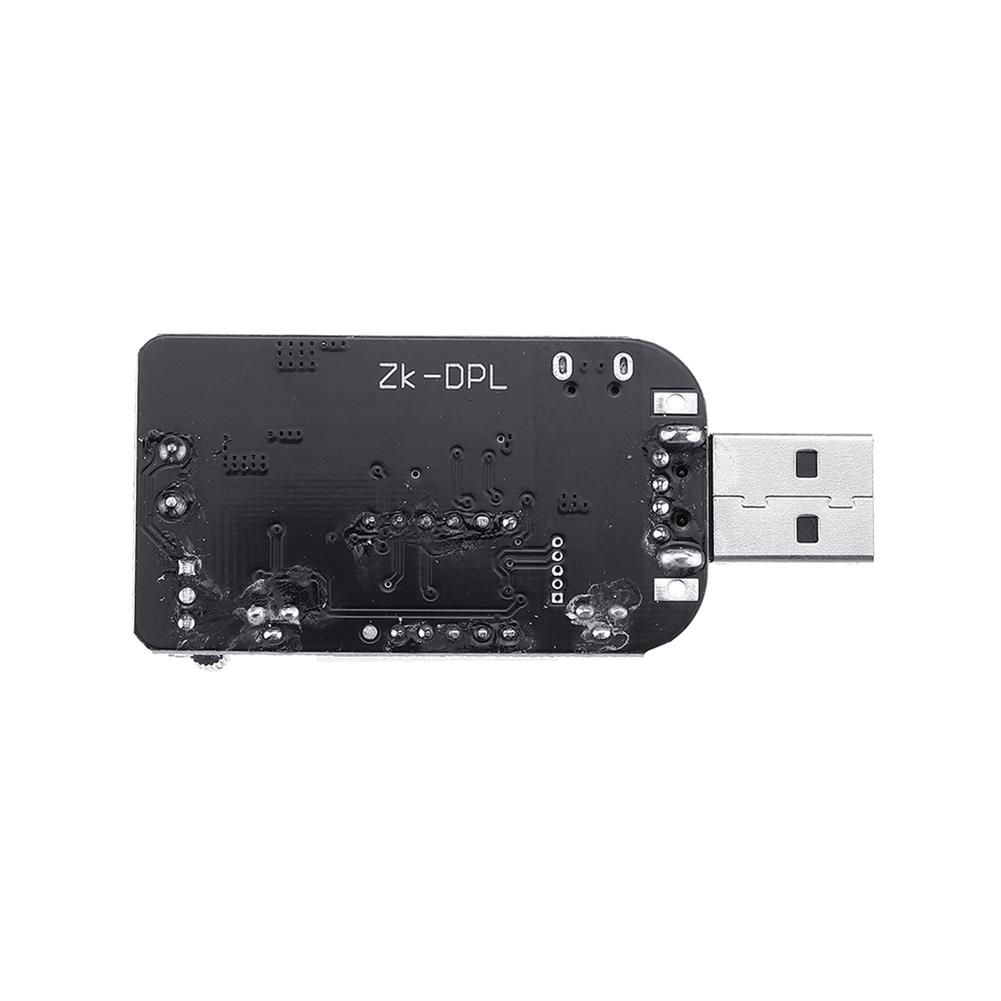
The input terminal – the left side, the USB male head, the microUSB, and the pad are selected as inputs, and the input range is 3.5-12V;
Output – right side, blue 2P terminal as output, output range 1.2-24V.
5. Calibration method
Output voltage calibration – When the digital tube always displays the voltage, press and hold the inchSWinch button for more than 3 seconds to release, the digital tube flashes, short press the inchSWinch button, the voltage value increases by one unit, short press the inchONinch button voltage value Decrease one unit. When the output voltage is low, it may take several times to see the value change 0.1V. Press and hold the “SW Inch button for more than 3 seconds to release and exit the calibration mode.
Output current calibration – When the digital tube always displays current, press and hold the inchSWinch button for more than 3 seconds to release, the digital tube flashes, short press the inchSWinch button, the voltage value increases by one unit, short press the inchONinch button voltage value To reduce one unit, it may take several times to see the value change 0.01A; long press the “SW Inch button for more than 3 seconds to release, exit the calibration mode.
Note:The calibration is more accurate when the current is greater than 1A; the display error is large when the output current is less than 0.05A, and may not be displayed when the output current is less than 10-30mA.
Package includes
10 x Power Supply Module
Additional information
| Weight | 0.23 kg |
|---|






Reviews