Description
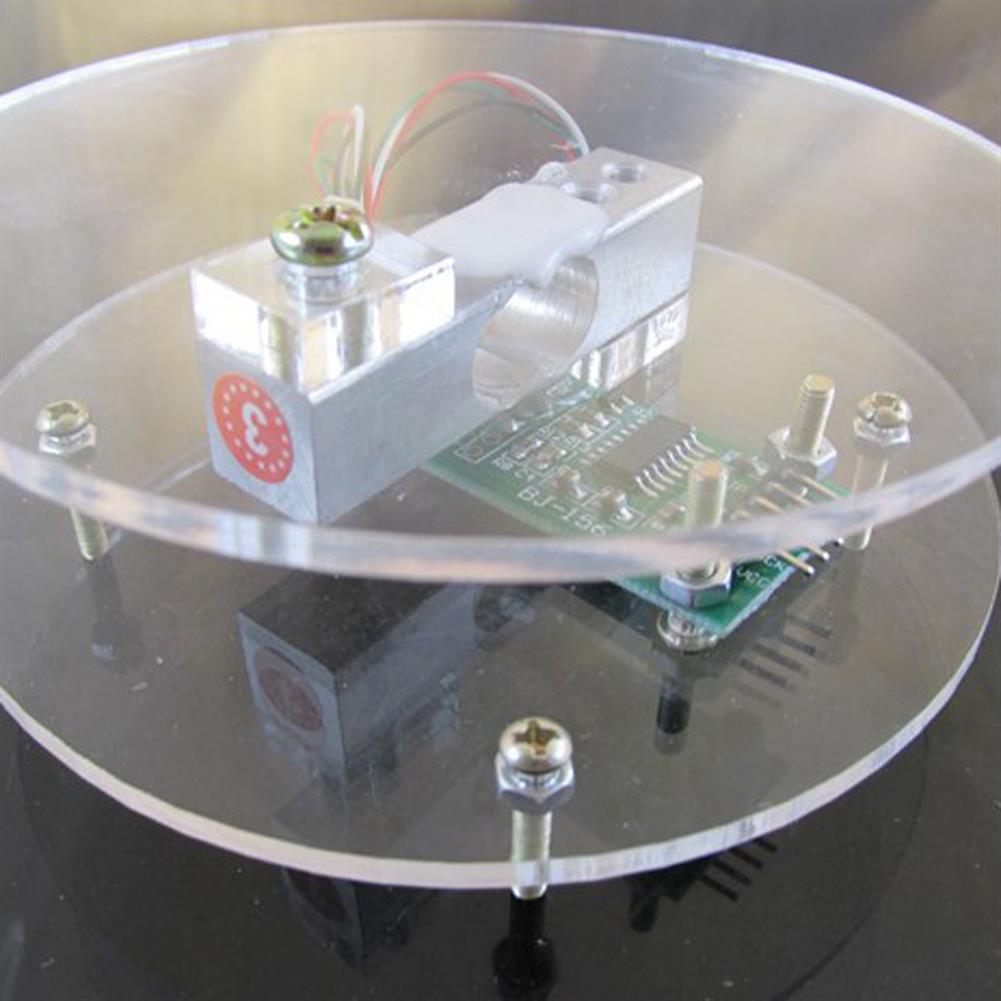
After installing the bracket, sensor, and single-chip control board, power on, then the LCD displays 2 lines, the first line is fixed as:welcome to use
The weight is displayed at the beginning of the second line, and the calibration parameters are displayed at the back (if the AD module and the microcontroller are in poor contact, the second line will not be displayed). Because the bracket and the screws on it have weight, each sensor will not display 0 grams when it is powered on for the first time. At this time, just press the ‘tare button’ to adjust to 0, and then put a 50 grams For weights, if the measured weight is larger than the actual weight, increase the calibration parameter value. If the measured weight is smaller than the actual weight, reduce the calibration parameter value.
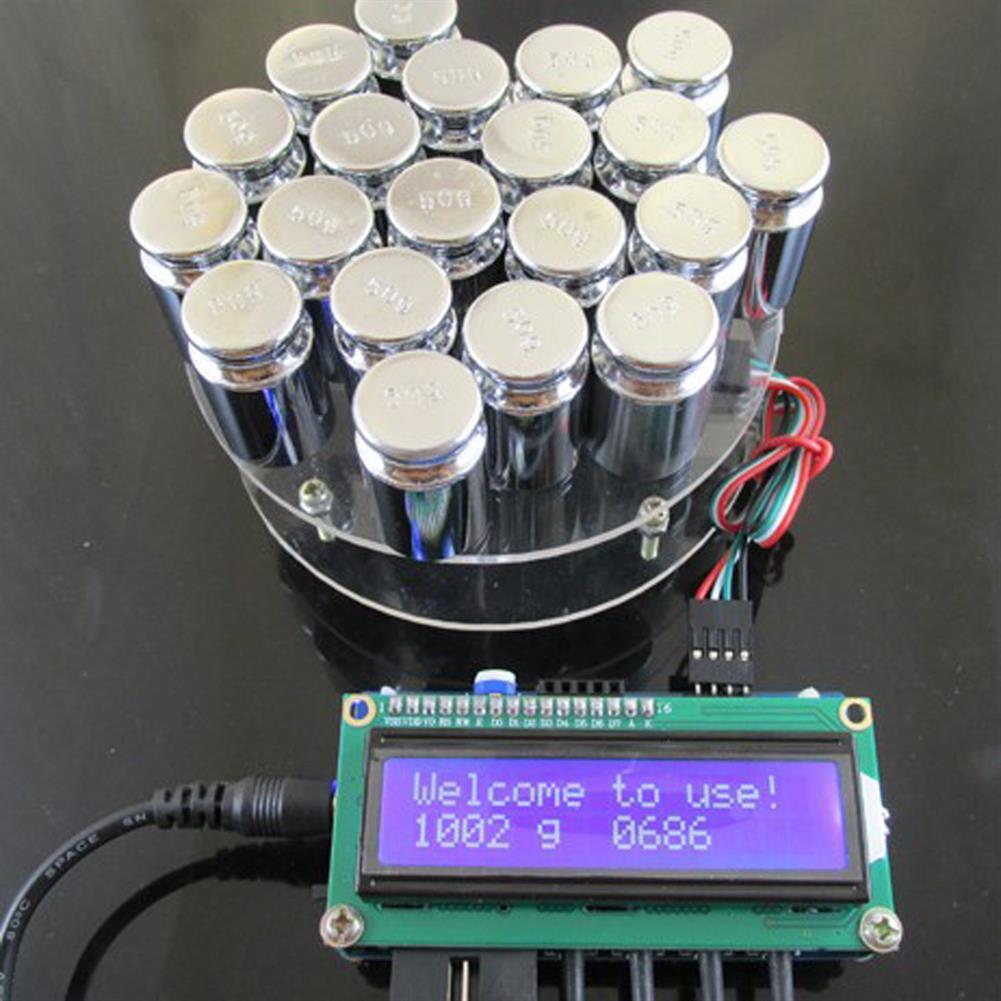
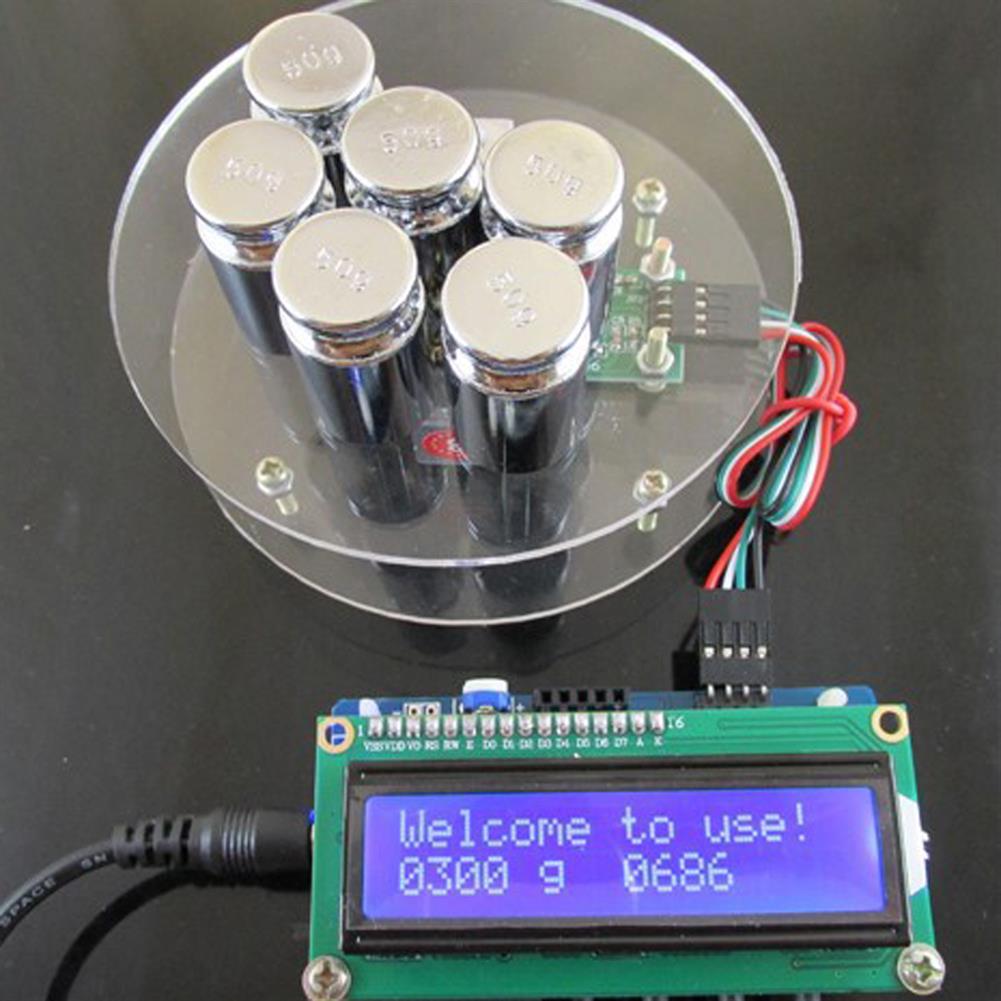
Take the sensor in this picture as an example, the calibration parameter value is within the range of 676-687, and it is accurate to measure the weight of a 50g weight. Therefore, you can measure another standard weight, and then take the intersection of the two calibration parameters, so that the data measured later will be accurate. If you measure two 50g weights, that is 100g, the calibration parameter value is within the range of 682-687, the measured weight is accurate, so I can take (676-687) and (682- The intersection of 687):682 683 684 685 686 These numbers are the calibration parameters of this sensor. Of course, if you have conditions, you can measure several standard types and then take the intersection.
Next, the calibration parameter of our sensor is set to 686 to see if the measured data is accurate:when measuring 300 grams, there is 0 error; when measuring 1000 grams, there is an error of 2 grams.
Package included
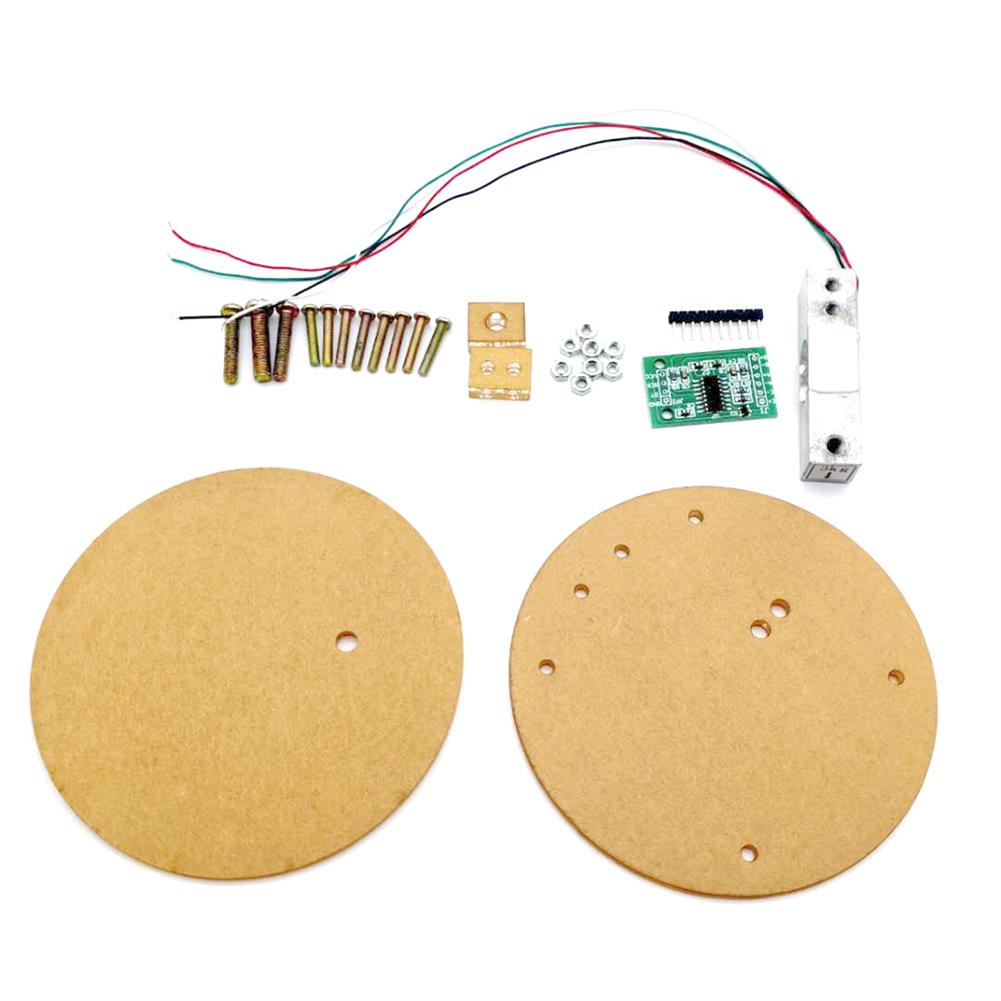
1 x upper and lower acrylic plate (thickness 2.7MM)
2 x Acrylic pad (thickness 5.5MM)
1 x M5 * 20 screw
2 x M4 * 20 screw
8 x M3 * 16 screw
8 x M3 nut
1 x 3KG Weighing sensor
1 x HX711 sensor
Additional information
| Weight | 0.098 kg |
|---|





Reviews