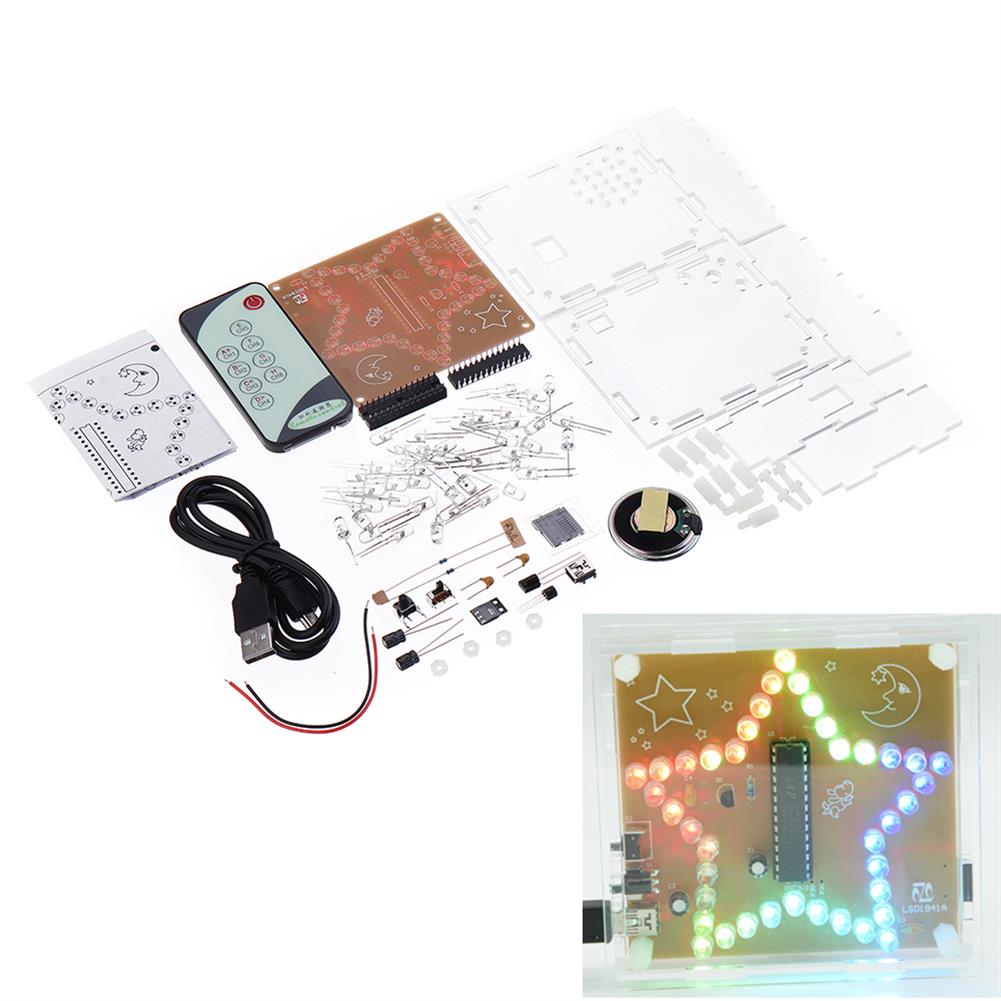
Description
The kit uses 5V power supply
13 kinds of LED switching animation
With seconds reset function
Can set alarm
With temperature display, can set temperature display or not
With light control function, light control switch can be set
Color:Red, Blue, Green(just the digital tube color)
Tutorial
1. Press the setting key for the first time, and the setting minute display will be displayed. At this time, every time you press the No. 2 key, the displayed value will increase by 1 and the value is between 0 and 59. According to the current time, set the corresponding value. Just fine.
2. After setting the minutes, press the set button for the second time to enter the setting. At this time, each time you press the plus button, the displayed time will increase by 1 and the value is between 0 and 23. According to the current time, set The corresponding value is sufficient.
3. After setting the time, press the set button for the third time, and then enter the reset setting of seconds. At this time, the current seconds will be displayed and the seconds will change. At this time, every time you press the plus button, the seconds will be reset to zero. If the user can set the number of seconds according to the actual time, when the seconds of the actual time becomes 00, press the plus key to set the seconds. (When setting the minutes, set the minute to one minute more than the actual number, that is, the actual 50 minutes, set to 51 minutes. This is only when the seconds are reset to zero.
accurate)
4. Press the Set button for the fourth time to enter the alarm minute setting. At this time, every time you press the No. 2 button, the displayed value will increase by 1 and the value is between 0 and 59. According to the current time, set the corresponding value. can.
5. Press the setting key for the fifth time to enter the setting of the alarm clock. At this time, each time you press the plus key, the displayed time or 1 is increased, and the value is between 0 and 23. According to the current time, the corresponding value is set. can.
6. Press the set key for the 6th time, the current digital tube will display inch1-00inch, at this time enter the alarm function on or off setting, press the plus key to turn on or off, 1-00 inchmeans off,inch 1-11 inchMeans on)
7. Press the setting key for the seventh time, the current digital tube will display inch2 00inch, at this time enter the light control function on or off setting, press the plus key to turn on or off (inch2 00inch means off, inch2 inch11inch means open)
8. Press the setting key for the 8th time, the current digital tube will display inch3 00inch, at this time enter the temperature display function on or off setting, press the plus key to turn on or off (inch3 00inch means off, normal display The screen will always display the current time, inch3-11inch means on, and the normal display screen will switch between clock and temperature cycle display)
9. Press the Set key for the ninth time to return to the normal display screen
10. In the normal display screen, every time you press the plus key, the LED animation effect will switch once.
Note
It is DIY Kit, Need to assemble yourself.
R1 and R2 is 0805 10K resistor
R3-R11 are 0805 1K resistor
Package included
1 x DIY Clock Kit
Additional information
| Weight | 0.2 kg |
|---|


Reviews