Introduction
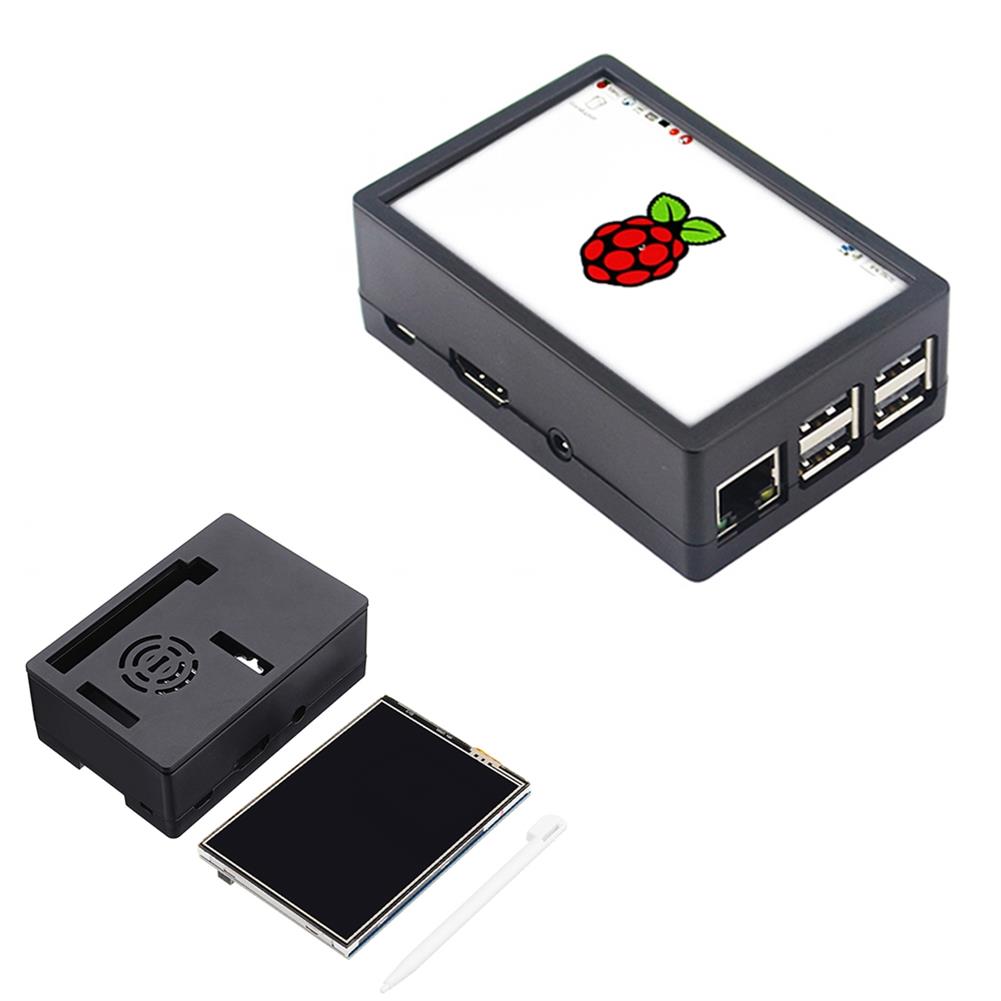
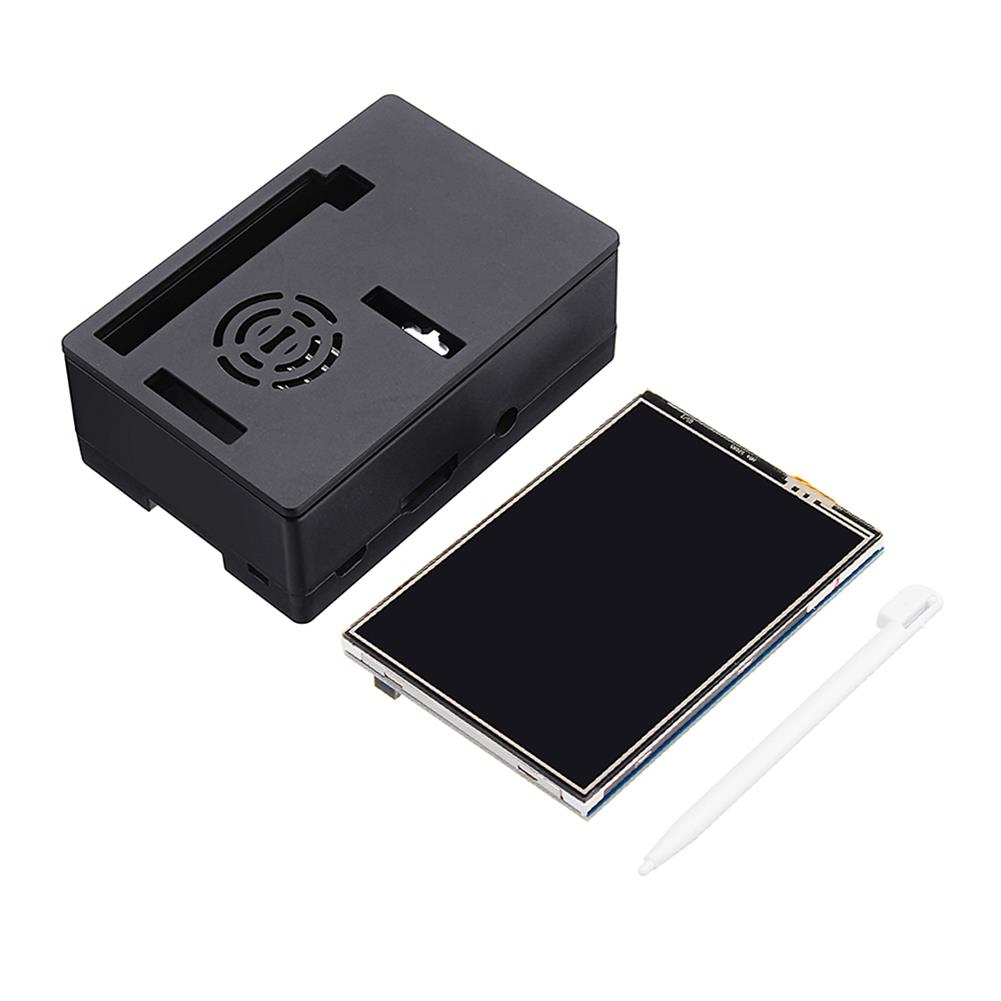
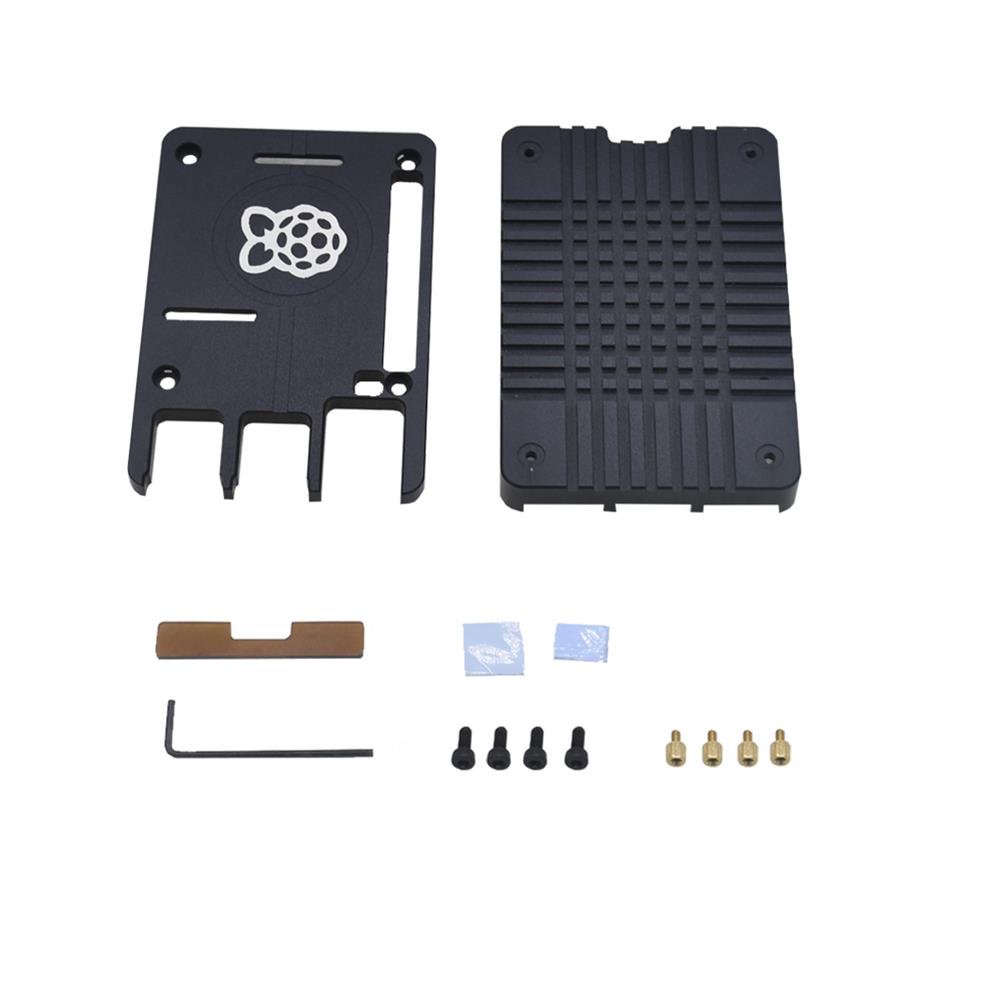
Sometimes you use the the Raspberry Pi with 3.5 inch touchscreen , but sometime you don’t use them together. In this situation , you need case which both suitable for Raspberry Pi alone or with 3.5 inch touchscreen. This is the reason we provide this new case — for the people use 3.5 inch screen more convenient:When you use the touchscreen , just remove the cover board and fan; When you don’t use the touchscreen , you can use the cover and fan , which become a normal case.
Please note that you can’t use the 3.5 inch touchscreen and cooling fan at the sametime !
Features
1. One case for two use
1). This case suport install 3.5 inch touchscreen , and need to remove the cover board and can’t use the fan in this using way.
2). When you don’t use the 3.5 inch touchscreen , it is a general case with cooling fan.
2. Full access for Raspberry Pi
We leave every hole for SD card , HDMI , AV , Ethernet , USB , POE , Camera , MIPI DSI ports.
3. Support cooling fan
You can install the cooling fan on the cover board , which make the best heat dissipation and extend the using life of Raspberry Pi.
( You can’t use the 3.5 inch touchscreen and cooling fan at the sametime ! )
4. Hange hole on the bottom
We make 2 hole on the bottom so that you can hange the case on the wall or something else .
This design is very convenient when using the 3.5 inch touchscreen.
-480≠320 pixel resolution, better display.
-Driver provided (works with custom Raspbian directly).
-Supports any revision of Rasp Pi (directly-pluggable).
-Designed for Raspberry Pi, an ideal alternative solution for monitor.
-Support software keyboard (system interaction without keyboard/mouse).
-Provides the best available protection/accessibility for Model B, Protect and secure your Rasp Pi from shocks, scratches and dust.
How to install the 3.5 inch touchscreen
1). Install the Raspberry Pi on the base board
2). Please stick the pad on the back of 3.5 inch touchscreen , then insert the 3.5 inch touchscreen on Raspberry Pi by GPIO pin correctly ( don’t be malposed )
3). Install the cover board
Parameter
LCD Type
TFT
LCD Interface
SPI
Touch Screen Type
Resistive
Touch Screen Controller
XPT2046
Colors
65536
Backlight
LED
Resolution
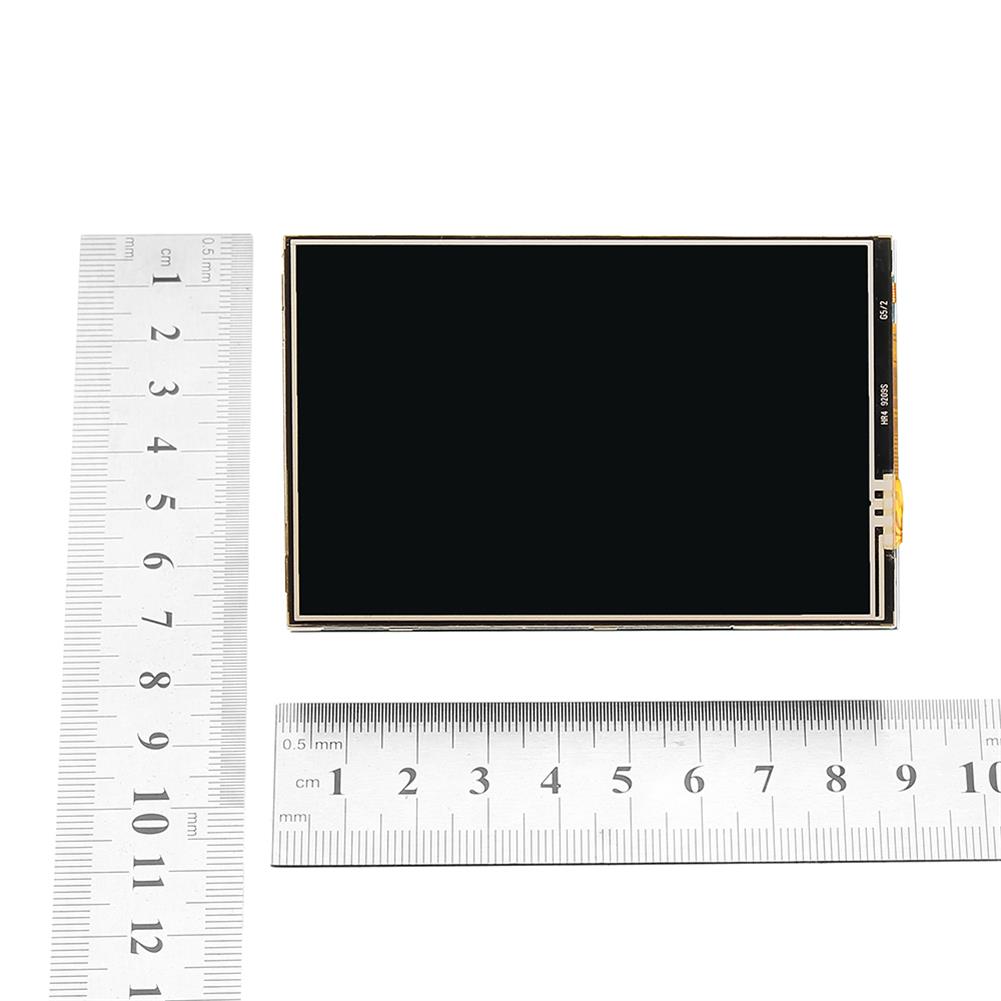
320*480 (Pixel)
Aspect Ratio
8:5
Power Consumption
TBD
Backlight Current
TBD
Operating Temp. (Centigrade)
TBD
Interface Definition
PIN NO.
SYMBOL
DESCRIPTION
1, 17
3.3V
Power positive (3.3V power input)
2, 4
5V
Power positive (5V power input)
3, 5, 7, 8, 10, 12, 13, 15, 16
NC
NC
6, 9, 14, 20, 25
GND
Ground
11
TP_IRQ
Touch Panel interrupt, low level while the Touch Panel detects touching
18
LCD_RS
Instruction/Data Register selection
19
LCD_SI / TP_SI
SPI data input of LCD/Touch Panel
21
TP_SO
SPI data output of Touch Panel
22
RST
Reset
23
LCD_SCK / TP_SCK
SPI clock of LCD/Touch Panel
24
LCD_CS
LCD chip selection, low active
26
TP_CS
Touch Panel chip selection, low active
About the system of 3.5 touch screen
The touch screen need to configure the driver for touch function , otherwise you can not use it by your own system.
Here we provide the method to configure for Raspbian system
Step 1:Download the Raspbian IMG
Step 2:Burn the system image
If you don’t know how to do that,you can refer to the Raspberry Pi office tutorial
Step 3:Open terminal(SSH) and install the driver on RaspberryPi
(tested on RaspberryPi 3B+,3B,2B,2B+,1B,ZERO)
Drive File
sudo rm -rf LCD-show
git clone https://github.com/goodtft/LCD-show.git
chmod -R 755 LCD-show
cd LCD-show/
sudo ./LCD35-show
Make sure your RPI connects to the internet then wait a few minutes, when the system reboot ok, you can see that.
You can also download the system image which we already configured well by following link
https://github.com/goodtft/LCD-show
Package included
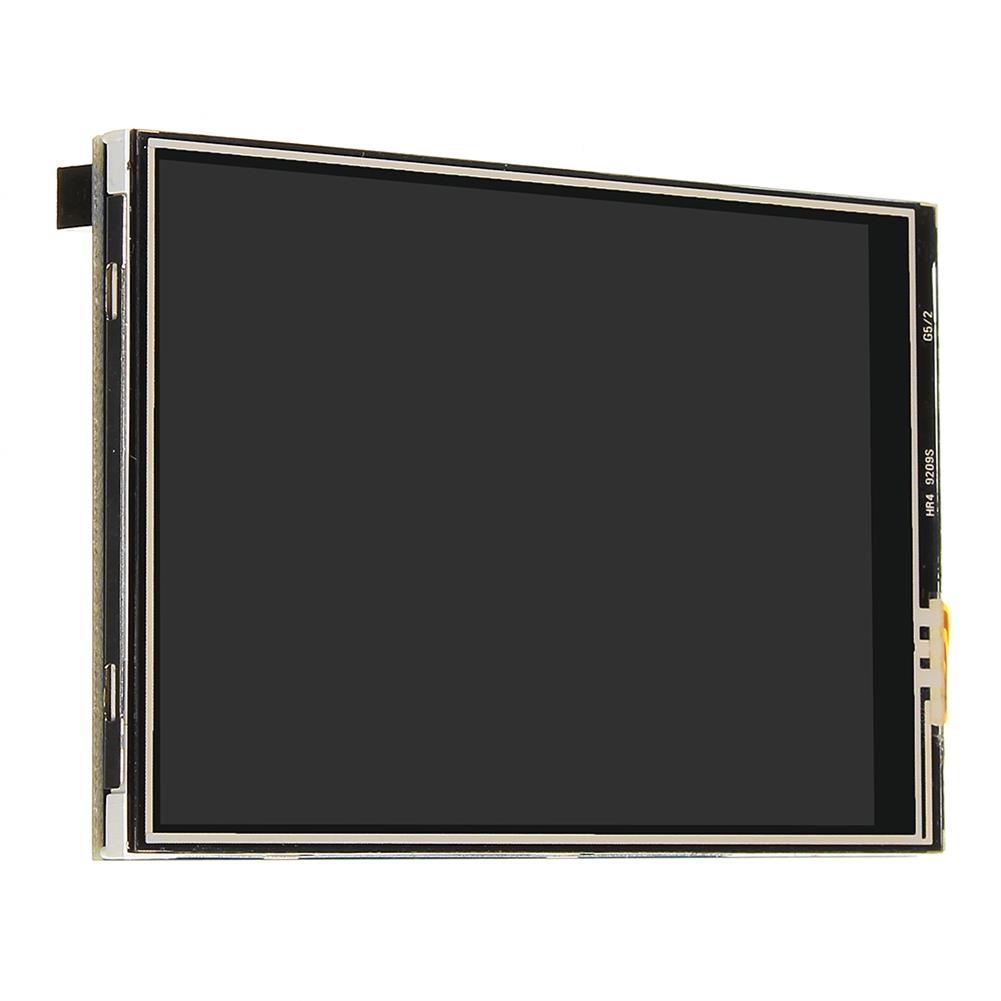
1 x 3.5 inch Touch Screen
1 x Protective Case
1 x Touch Pen
Additional information
| Weight | 0.123 kg |
|---|






Reviews