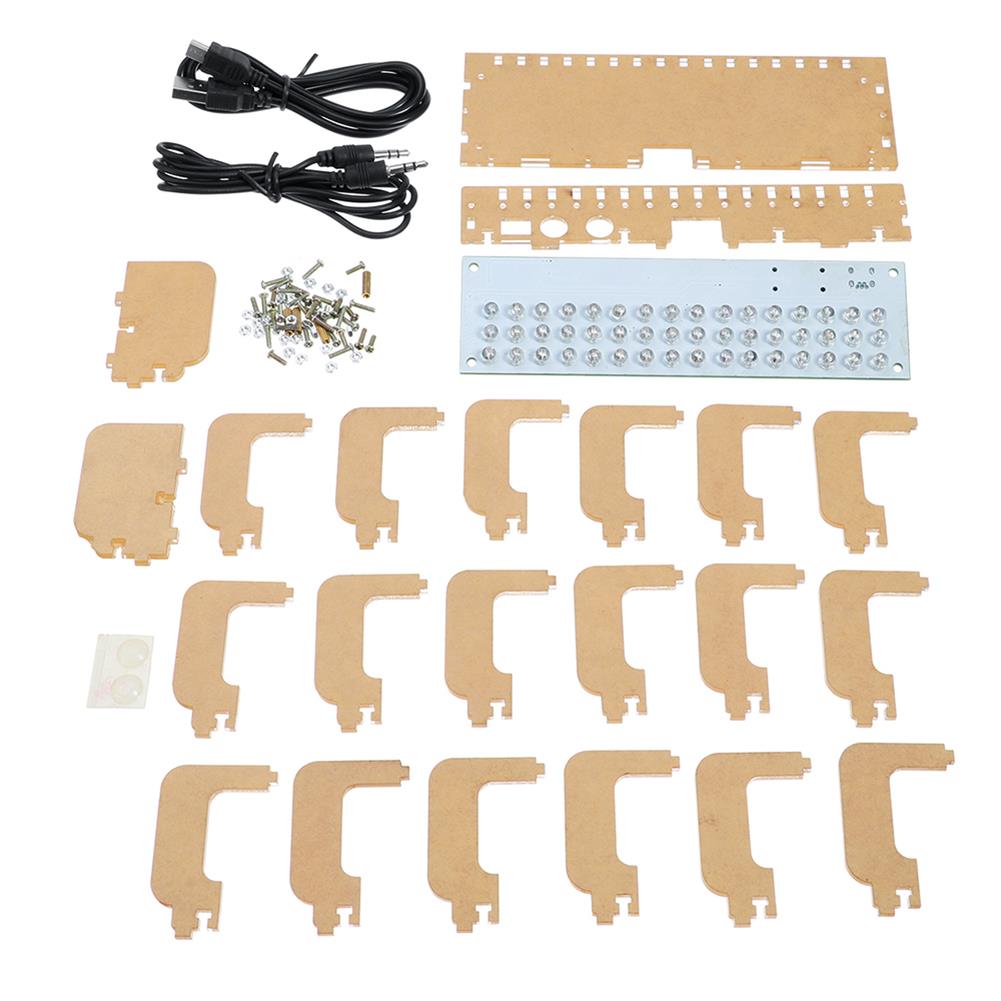
Note:Requires simple assembly.
There are three key functions
1. Enter the test mode
2. Change the display mode
3. Change the display brightness
Specific operation
1. Enter the test mode
First press and hold the button, power on (5V power supply), the spectrum automatically enters the test mode. The LED lights up in turn from bottom to top. In the test mode, the brightness of the LED and the quality of the circuit can be tested.
2. Change the display mode (press and hold the button for more than 2 seconds to enter)
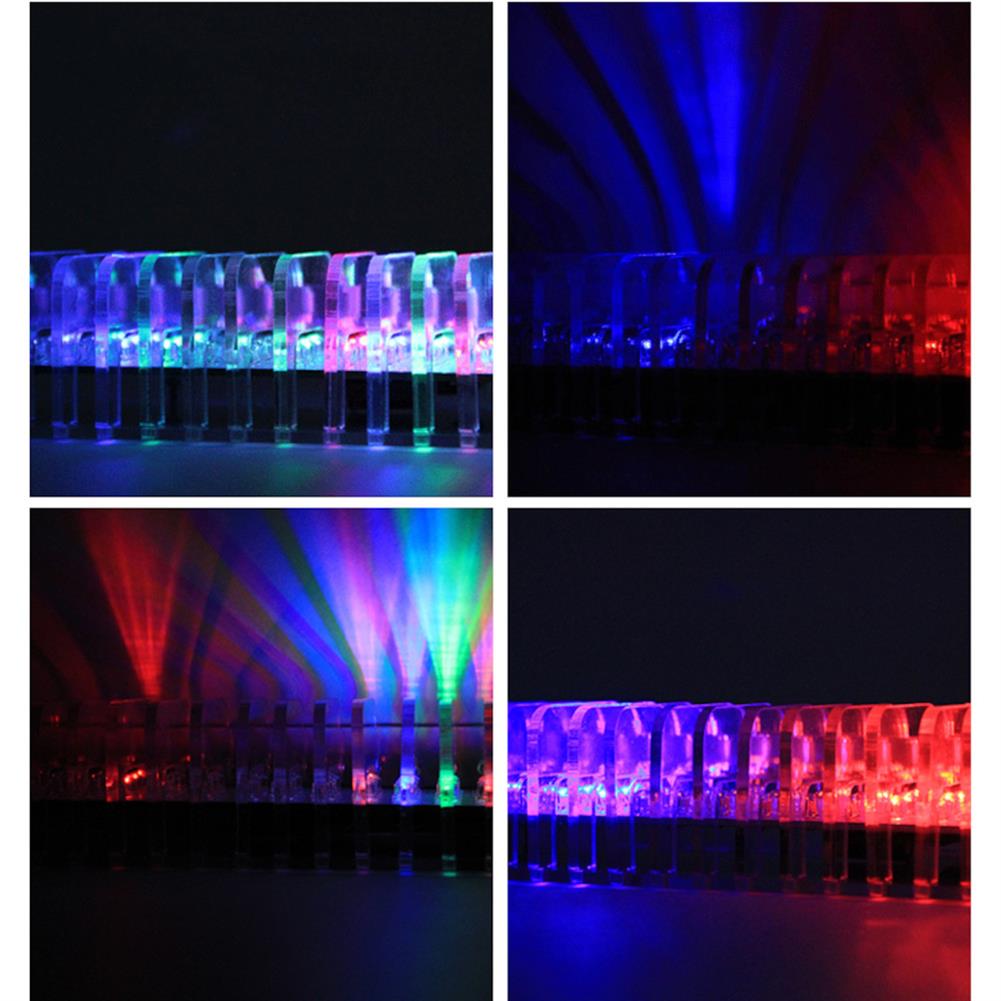
Breathing mode:8 rows of LEDs are lit, and the brightness can be observed to change continuously. At this time, short press the button to change to the fixed mode. Exit without any key operation for 4 seconds.
When the spectrum works in breathing mode, the brightness of its LED will change with the intensity of the spectrum signal. The stronger the spectrum signal, the greater its brightness.
Fixed mode:4 rows of LEDs are on. At this time, short press the button to change to the breathing mode. Exit without any key operation for 4 seconds.
When the spectrum works in a fixed mode, the brightness of its LED will not change with the intensity of the spectrum signal. The brightness of the LED can be manually adjusted by pressing the button.
After exiting the display mode setting state, the spectrum will work in the set mode.
3. Change the display brightness (press and hold the button for less than 1.5 seconds)
Remember! Only when the spectrum is working in (fixed mode), can the brightness be changed by short pressing the button.
Make sure that the spectrum is working in the fixed mode, short press the button once (press and hold the button for less than 1.5 seconds) to change the brightness of the LED. There are 16 levels of brightness.
Package included
1 x DIY Single-row Breathing Music Spectrum Kit (Finished Product)
1 x User manual
1 x Packing box
Additional information
| Weight | 0.2238 kg |
|---|


Reviews