T.RD8503.03 Firmware:Click here to open
T.V53.03 Manual:Click here to open
T.V53.03 Firmware:Click here to open
T.SK106A.03 Manual:Click here to open
T.SK106A.03 Firmware:Click here to open
New Version T.SK105A.03 Manual:Click here to open
New Version T.SK105A.03 Firmware:Click here to open
Note:Since the driver board model is updated frequently, the appearance and chip will be different, please refer to the actual received. If you mind this, please buy carefully.
Description
Model:T.V53.03 (Update from December 25, 2019)
Model:T.SK106A.03 (Update from September 1, 2020)
Update Model:T.SK105A.03 (Update from November, 2020) The specific model is mainly based on the received model, pay attention to burning the corresponding model firmware.
Input Interface:PC / HD / TV / USB multimedia playing
Voltage:Single 12 V
Screen interface:LVDS Single 6 / 8 , Double 6 / 8
Screen voltage:3.3V / 5V / 12V
Only supports the resolution of
1920×1200
1920×1080
1680×1050
1680×945
1600X1200
1600×900
1400X1050
1440×900
1366×768
1280×1024
1280×854
1280×800
1280×768
1280×720
1024×768
1024×600
800×600
Burning method:to record the screen program in the USB flash disk, USB flash disk inserted into board, plug in the keypad, electricity; About after a few seconds, press the keypad lights start alternating red and green flash, flash lights began to write programs (please do not power), light in the slow flash first, after a slow flash flash, will speed up the quick flash, long after the last until the lights stop flashing light is the program written, electricity burn with USB flash disk to complete the program.
Not only USB interface can be used to upgrade programs, but also can use to play video, basically formats are supported. You can also set a boot display pictures or LOGO
Notice
1. The power requirement of 12V4A
2. Screen voltage jump line according to the working voltage of screen jump to the corresponding position
3. Use to adapt to the board of general screen line
4. The screen line not to reverse and dislocation
Programming
1. The screen of the program is copied(.bin file) to the usb drive.
2. Insert USB Flash disk to the USB port on the board
3. Connected to the keypad, electricity again, until you see by the indicator lights on the keypad after flashing in red and green, until after the indicator light flashing, unplug the power, then pull out USB Flash disk, afresh power on.(Note that write programs do not power outages, crashing won’t be able to use)
Package included
1 x Controller Board
1 x Remote control
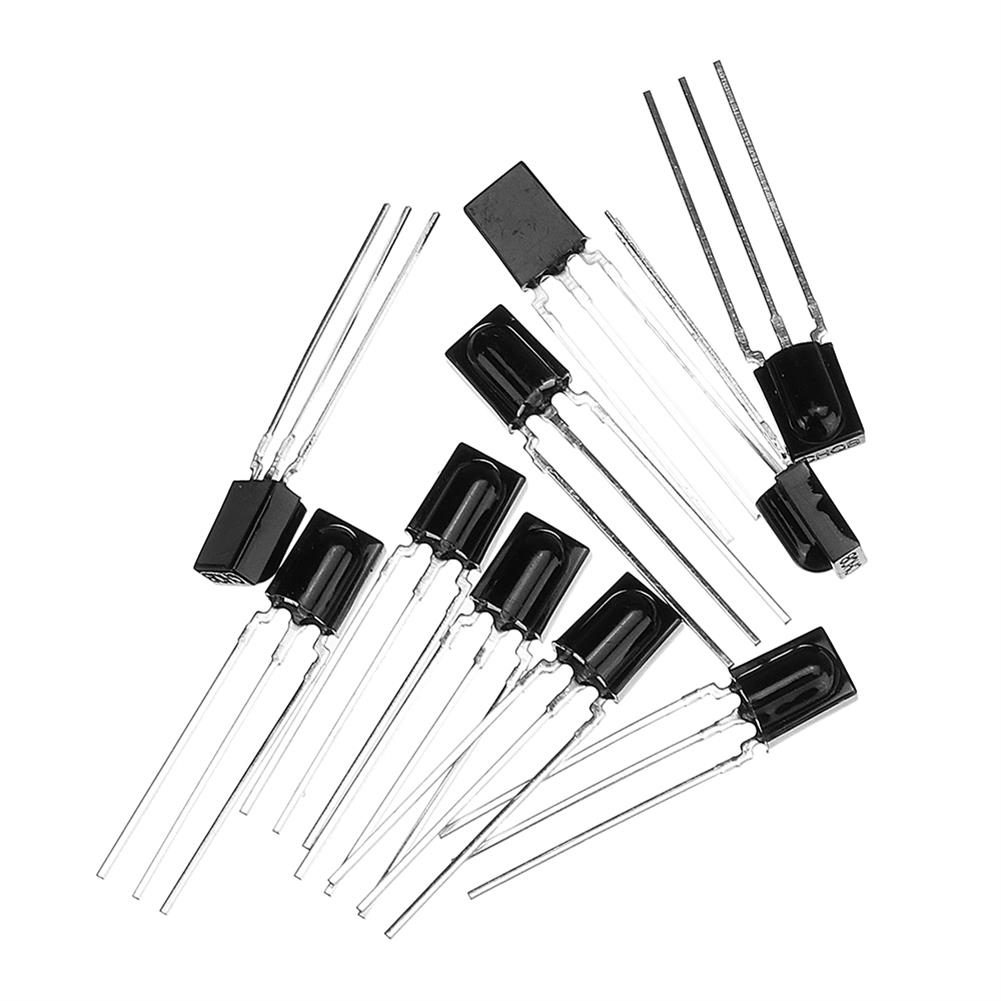
1 x IR
Additional information
| Weight | 0.13 kg |
|---|


Reviews