Specifications
Materials:PP Plastic
Manchine input voltage:DC 12V±10%
Power Adapter input voltage:AC220V±10% 50HZ
Output voltage:DC 12V±10% 2A
Temperature measurement accuracy:±0.1℃
Environmental humidity:≤85%RH
Environmental temperature:-10℃-38℃
Features
–Fall and high temperature-resistance material
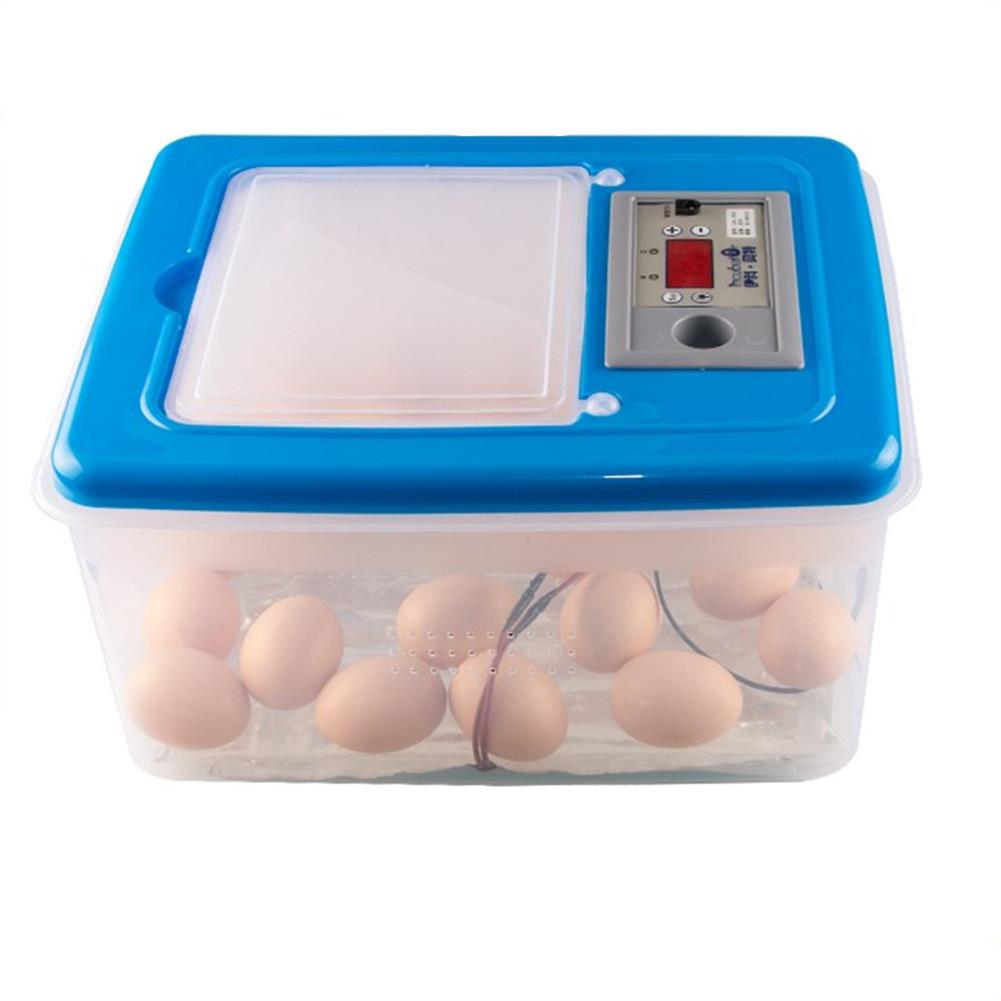
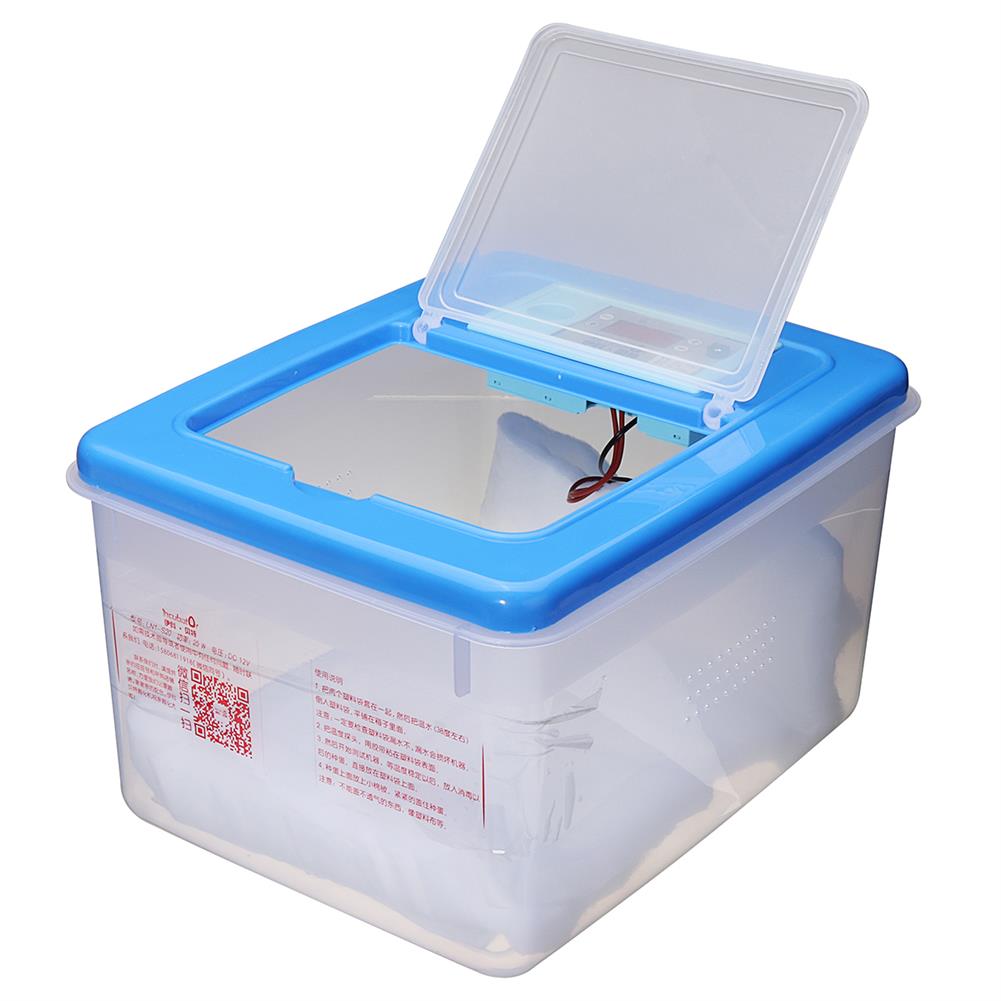
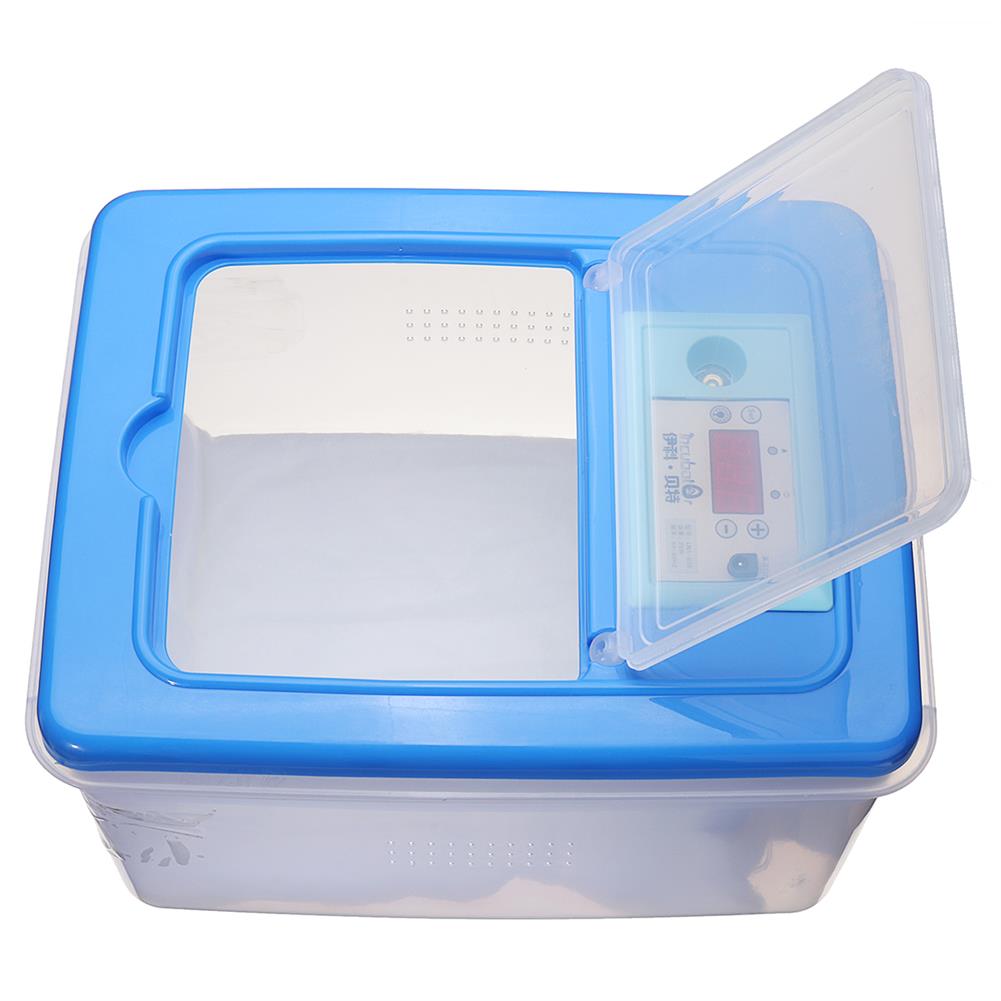
–Transparent case with self-contained egg candler for easier observation.
— Ventilation holes on both sides, increasing the amount of oxygen in the tank, high hatching rate.
— Multi-type egg hatching:eggs, duck eggs, goose eggs, bird eggs, ect.
Package Included
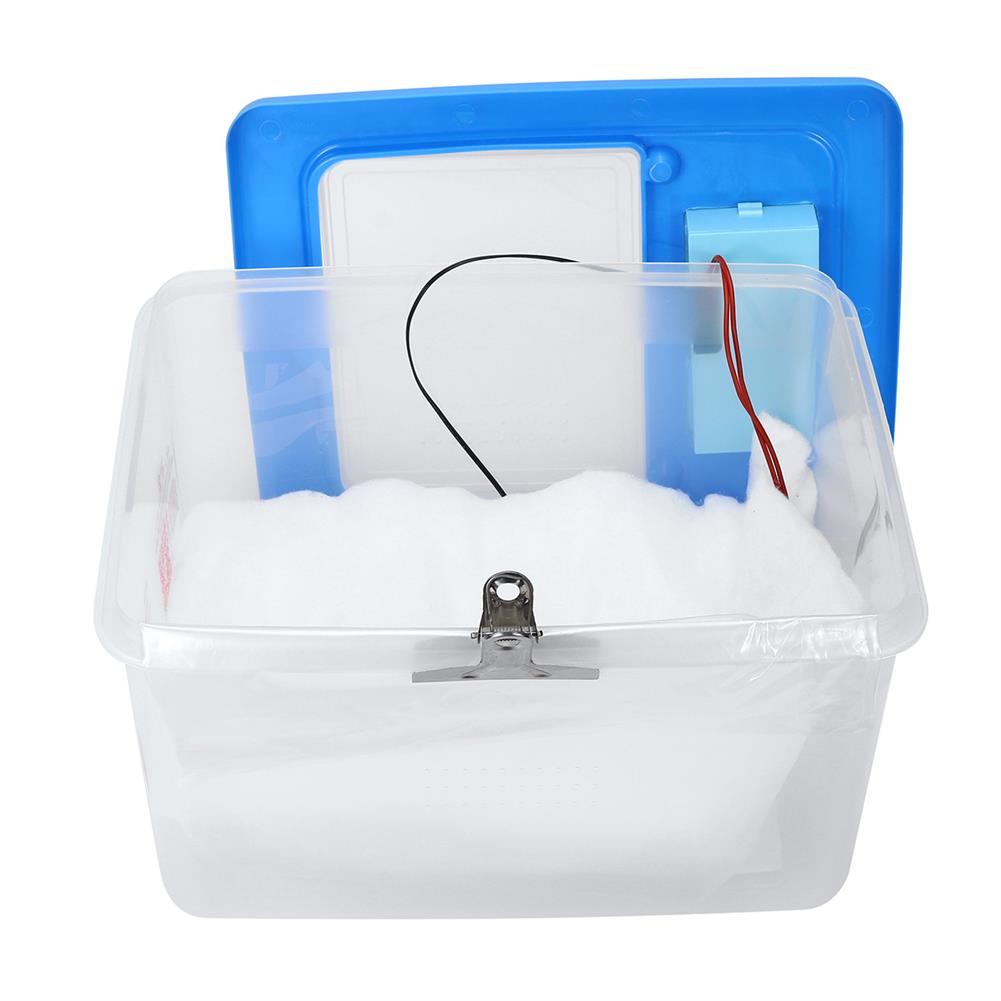
2 x Water bags
1 x Incubator
1 x Cotton Pad
1 x Sprinkle Bottle
1 x 12V Cable
1 x 220V Cable
Operation Steps
1. Power on test.
2. Put one plastic bag into the other plastic, then pour water (preferably around 30 degrees) into
the plastic bag and Lay the plastic bag at the bottom of the box.
3. Put the temperature probe to the surface of the plastic bag with tape (must be placed on the upper surface).
4. Start testing the machine and wait for the temperature to be stable before calibrating the thermometer.
5. The water bottle is filled with water and placed in the machine to keep the water temperature of the kettle
consistent with the temperature of the hatching eggs.
6. Put the hatching eggs after disinfection and put them directly on the plastic bag.
7. Put a small quilt on the hatching eggs and cover the hatching eggs tightly.
8. Spray Water Three days before shelling, spray 2~3 times a day; spray twice each time.
Note:Do not cover airtight things, such as plastic sheets, etc., the original packaging foam cover can not be used when hatching.
Warning
* Be sure to test whether the water bag is leaking, or it may cause a short circuit.
* After putting the hatching eggs on the plastic, put a small quilt, not too loose or too tight, you must
ensure that there is sufficient oxygen in the incubator.
* The default temperature is 37.8 ° C, and the number of eggs can be hatched at the same temperature regardless
of the number of eggs(the incubator can contain 32pcs eggs.).
* Egg hatching time is 19-23 days; different egg types have different hatching time.
* During the hatching period, in addition to the need to turn the eggs, you need to spray water three days before
the shelling, spray 2-3 times a day, two times each time.
Operation Instruction
Temperature setting
In the normal display state, short press the “SET Inch button, Flashing number on the screen is
the current machine setting temperature, press “+ Inch or “- Inch at this time.
Press the button to adjust to the needed temperature, and then press the “SET Inch button.
The machine will automatically save and exit the setting interface.
Egg candling operation
Press the inchEgg Candlinginch button to release, then the control panel will open the egg candling lamp;
place the hatching eggs in the egg candling hole to observe; after observing,
Press the inchEgg Candlinginch button to turn off egg candling lamp.
Temperature calibration settings
In the normal display state, long press the inchSETinch button until the screen displays PO,
immediately release the hand, pressing the inchSETinch button again, the screen displays 0.0.
And the corresponding inch+inch or inch-inch is adjusted at this time.
For example, if the machine displays temperature is 37.8℃ and the thermometer temperature is 37.0℃,
P0 is adjusted to -0.8℃ by inch-inch.
Quickly restore factory settings
Hold down the inch+inch and inch-inch keys together and do not raise your hand (about 5 seconds).
At this time, the buzzer will beep and the screen will flash once to indicate that
the control board is successful. Restore all factory default data (including previously calibrated temperature).
Note
1.Please allow 1-2cm errors due to manual measurement.
2.Due to the difference between different monitors, the pictures may not reflect the actual color of the item.
Additional information
| Weight | 1.247 kg |
|---|




Reviews